

I fell in love with it and knew immediately that I had to make it! So, I went right out and grabbed the materials and started to make my version of this Autumn Wreath!
I started with the typical materials, worsted weight yarn (I had to buy the pumpkin orange, all of the other colors I had in my stash), a foam wreath, my hook and my tapestry needle.

Sarah used a Size H Crochet Hook, I decided to use a Size I hook. Thinking that i'd have to crochet less than her beginning chain, I did a couple of rows to test my width, and found that a starter chain of 26 was perfect.
I chained 26, and started my row of sc in the 2nd chain from the hook. So there were 25 sts total across.
My note to self, while a couple of rows made it perfectly fit. In the end it was almost too tight to sew together. I had to really stretch it out. So next time I will crochet a couple of rows and make sure that they overlap around the foam wreath. {You'll see pictures in a little bit}
Also, next time, instead of spending $8 on a foam wreath.. i'm going to try out another deal I saw on pinterest.

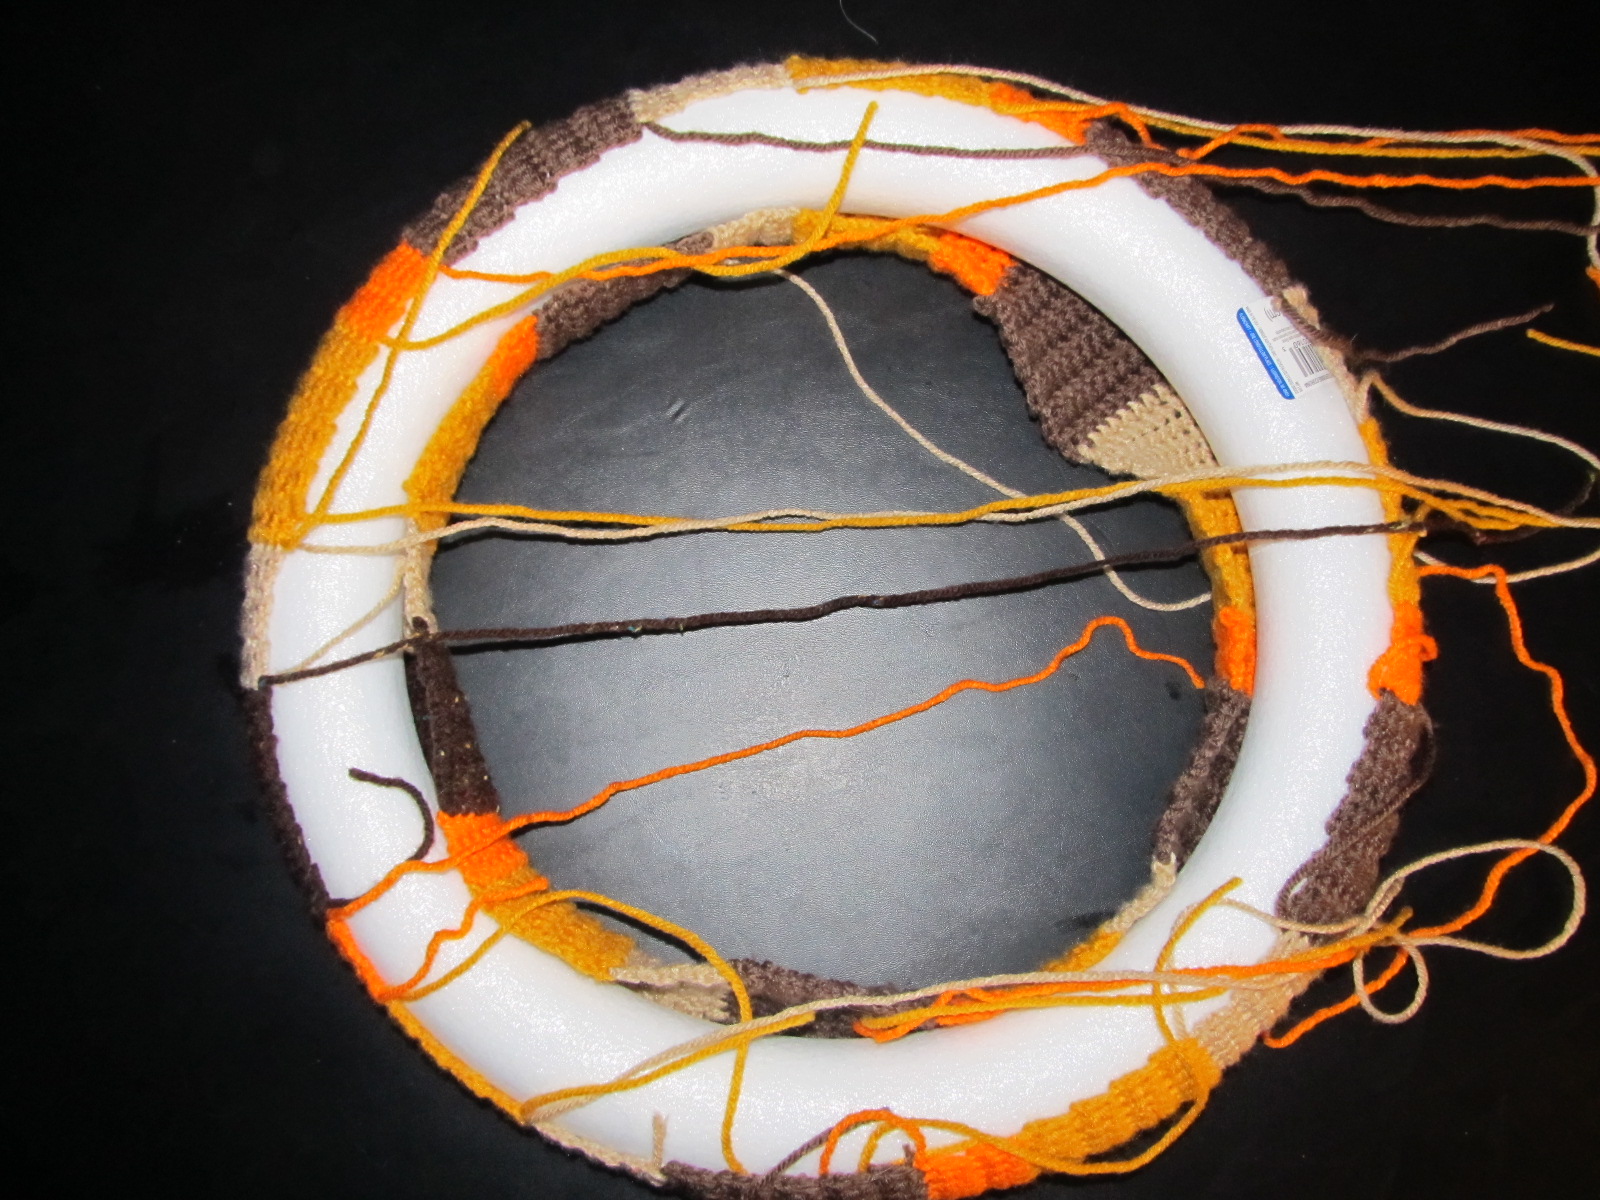
I started to crochet my colors; I designated each color a certain number of even rows. 4, 6, 8 and 10 rows. It worked out that I did this pattern 5 times around.

I left long tails on my ends when I changed colors. When it came time to sew the edges together, I just used the tail. Even though you don't see the back, it gave it more of a seamless feel to it!
Once I was finished, and was satisfied that it fit around my wreath, I sewed end to end and placed it around my foam wreath.

Yes, I did run out of the one brown color and I had to use a second brown. I ended up hiding the odd brown under the bow in the end.
And this is where you can notice how much room is left on the other side.
It did stretch to fit when I sewed the ends together... but it was much more difficult than it needed to be. I'm also now wondering if it would have fit better if I continued on with the colors around and not made it such a tight fit that way.

The bow is the only part I am not happy with on this wreath. Sarah said her bow was 6 sc across and about 3 feet long. Once mine hit 3 feet, I could not form it into a bow I liked, so I went longer.
I ended up crocheting another loop, 10 sc wide and long enough to fit around the foam wreath. I sewed the ends together around the wreath, and put the bow in underneath. I will have to find different way to do a bow the next time I crochet a wreath.

Last but not least, I had to make the pumpkins and leaves!
The pumpkin pattern came from Sarah again. Here is her pattern, she has pretty pictures on her site.
Working in back loops only...
Chain 11,
Row 1: SC in second chain from hook, SC in next, HDC in next 6, SC in last two, chain 1, turn
Row 2: SC across (10 SC)
Row 3-17: Repeat rows 1-2. Leave long tail.
Stitch together row 17 to beginning row.
Just like you would begin to make a single crochet decrease, stitch together one end of the pumpkin. Keep looping the tapestry need under two stitches at a time until it closes. Stuff with poly-fil {I filled it with yarn} and do the same to the other side. Fasten off and weave in ends.
Pumpkin Stem:
Magic ring, 4 SC in magic ring,
2 SC in first stitch, SC in next, repeat around (6 sc)
Continue to SC around until stem is to the desired length and sew together.
The leaf pattern came from Wind Rose Fiber Studio. Here is their pattern:
chain 10 leaving 8” beg tail
Side 1: working in back loops of beginning chain, 3 dc in fourth st from hook, dc in next 3 sts, hdc in next st, sc in next st, sl st in last st, ch 1, sl st in ch just made (leaf point made)
Side 2: working down the other side of the beginning chain in the front loops, sl st in next st, sc in next st, hdc in next st, dc in next 3 sts, work 3 dc in next st, join with sl st to top of beg ch 3
Stem: chain 4, sl st in second st from hook and in next two sts. sl st to next dc, finish off weaving in all loose ends
I made them without the stem.


A little hot glue, because I like to cheat like that, and you have the finished product!! How cute is this?! Not my door though, I just used an inside door instead of finding our wreath hanger {which I think is tucked away with our Christmas stuff} so I could show you on our front door.

My mind is thinking of different ways I can make wreaths for Christmas now!
Plus, i'm thinking about using the Random Stripe Generator to help work my way around!
I hooked up with hooking up on hump day!

No comments:
Post a Comment