


To make the hat: Using worsted weight, acrylic yarn and a size H hook.
Start off with an adjustable ring, and 12 dc in ring.
Round 1: ch 3 {counts as first dc}, dc in same st as ch 3, dc twice in each dc around, sl st in third ch. {24}
Round 2: ch 3 (counts as first dc}, dc twice in next dc, (dc in next, 2dc in next) around, sl st in third ch. {36}
Round 3: ch 3 {counts as first dc}, (2dc in next dc, dc in next 3 st) around, sl st in third ch. {48}
Round 4: ch 3 {counts as first dc}, (2dc in next dc, dc in next 4 st) around, sl st in third ch. {60}
Round 5: ch 3 {counts as first dc}, (2dc in next dc, dc in next 5 st) around, sl st in third ch. {72}
Round 6 - 7: ch 3 {counts as first dc}, dc in each st around, sl st in third ch, fasten off. {72}
Round 8: Change Color, ch 3 {counts as first dc}, dc in each st around, sl st in third ch, fasten off.{72}
Round 9 - 11: Change color, ch 3 {counts as first dc}, dc in each st around, sl st in third ch, fasten off. {72}
Round 12: Change color, ch 3 {counts as first dc}, dc in each st around, sl st in third ch, fasten off. {72}
Round 13 - 14: Change color, ch 3 {counts as first dc}, dc in each st around, sl st in third ch, fasten off and tuck in extra. {72}
To make ear flap: With the right side facing out, fold the hat in half to find the perfect spot to start the ear flap.
Row 1: Ch 3 {counts as first dc}, dc in next 9 dc, turn. {10}
Row 2: Ch 3 {counts as first dc}, dc2tog, dc next 4 dc, dc2tog, dc in last st, turn. {8}
Row 3: Ch 3 {counts as first dc}, dc2tog, dc next 2 dc, dc2tog, dc in last st, turn. {6}
Row 4: Ch 3 {counts as first dc}, dc2tog twice, dc in last st, turn. {4}
Row 5: Ch 3 {counts as first dc}, dc2tog, dc in last st, fasten off. {2}
Make 2nd ear flap directly across when the hat is folded.
After the second earflap, use any color and sc around the hat to add a border.
Add braided tassels. I cut 4 pieces of yarn of each color to a desired length and pulled it through one of the st at the bottom of the ear flap. Tied it off with a knot and then braided same colored pieces together {should be 8 same colored pieces each}. Tied the bottom off with a knot and cut the extra length.
Now it is time to make the mohawk! Which it is a totally separate piece.


Chain 41. {If you are making a smaller hat, chain less. If you are making a bigger hat, chain more. You may stretch the chain over the hat to find the perfect number of chains.}
Row 1: Sc in 2nd ch from hook and in each remaining ch across, turn.
Rows 2 and 3: Ch 1, sc in each sc across, fasten off.
Fringe: For this I cut approximately 120 pieces of red and 120 pieces of blue at about 6" - 8" long.
I had 40 stitches, 6 strands per stitch, which equals the 240 pieces. So depending on how many colors you want to use, and how many stitches you have... just do the math. Each stitch holds 6 pieces. If you have 3 colors, each stitch will hold 2-2-2 of each color, so that'll mean 80 cut pieces of each color. I personally cut them as I went, cutting 5 stitches worth of yarn at a time.


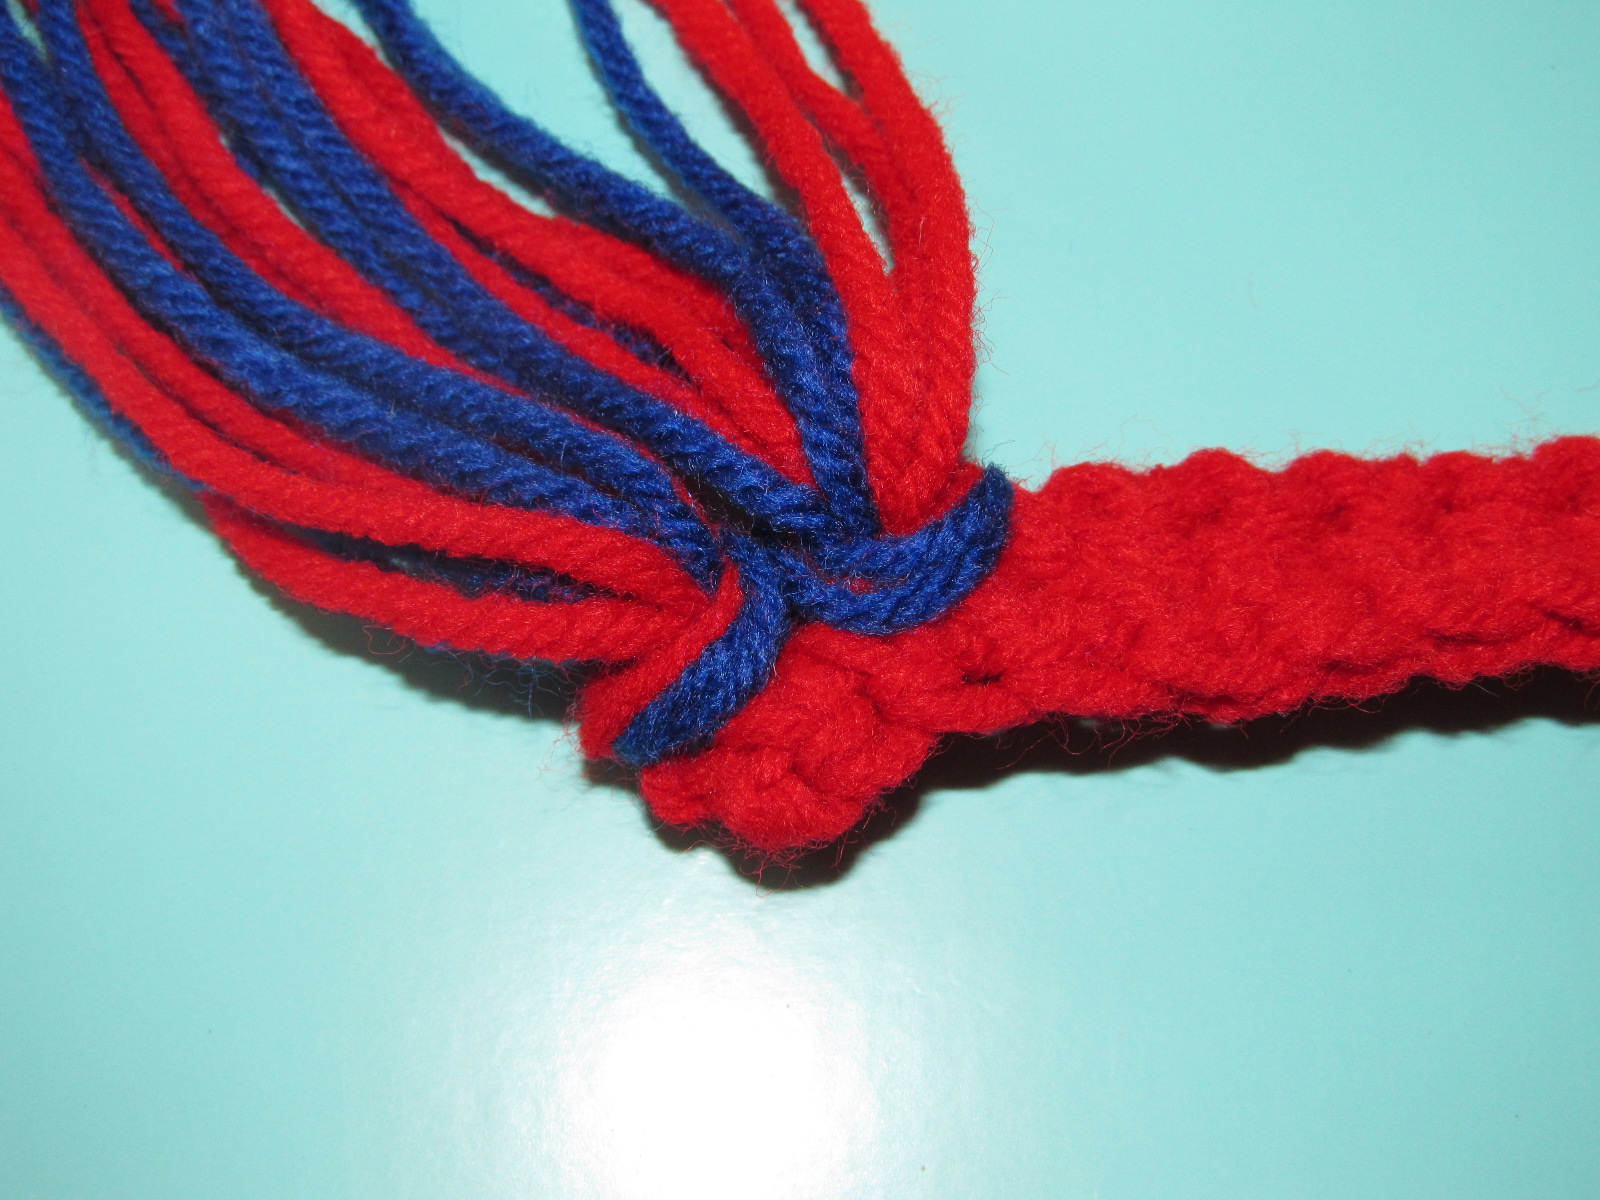
Pull the yarn through the stitch, forming a loop on the right side.

Insert ends of strands into the loop and pull to tighten.

Repeat this process to attach fringe to all of the sc in the center row of Mohawk strip.
Trim fringe to about 2" long.


After you have completed the whole mohawk strip, sew it to the hat. I folded the hat in half, and then pinned the strip to the hat. I sewed the hat on with the acrylic yarn and a plastic needle, but you can also sew it on with regular needle and thread. And there you go!! You're all set to cheer on your team! ... Or just look pretty cool out on a cold winter day. Let me know if you made this and how the pattern is!
Pin It

No comments:
Post a Comment